Laying out the rubble trench foundation...
Click button No.1 to see the layout of the cottage using
rope. A piece of wood, which most conventional builders would reject,
is used to define the shape of the cottage.
In picture No.2 you can see the trench has been excavated with
a drainage pipe, known as a 'weeping tile', laid. The trench is dug to the depth of the
frost line and the width of the wall to be built above it. The
bottom of the trench should slope to a point outside the
building. The weeping tile is covered in well-graded stones to
ground level (known as 'grade') and compacted.
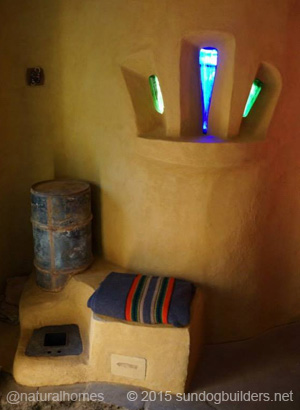
Building in a rocket stove...
In picture No.3
a dry stone stem wall has been built above the rubble trench
and you can see the trench extending out of the building at 10
o'clock. The picture also shows the beginnings of the heating
stem; a rocket stove positioned at 12 o'clock. The flue from
the stove curves around the front of the cottage to the 8
o'clock position where it will rise and exit the cottage. This
provides efficient central under floor heating for the
cottage.
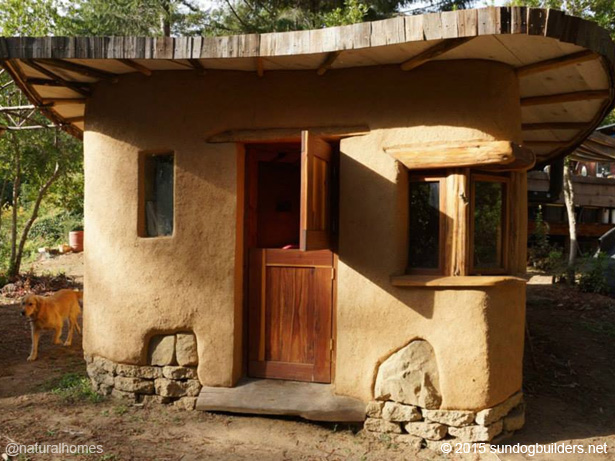
Picture No.4 shows the cob walls rising and some
progress on the rocket stove.
Straw bales on the north side of the cottage...
At the back of the cottage at 4
o'clock, the north side, you will see a space left for straw
bales which will provide better insulation than the cob walls
on the south,
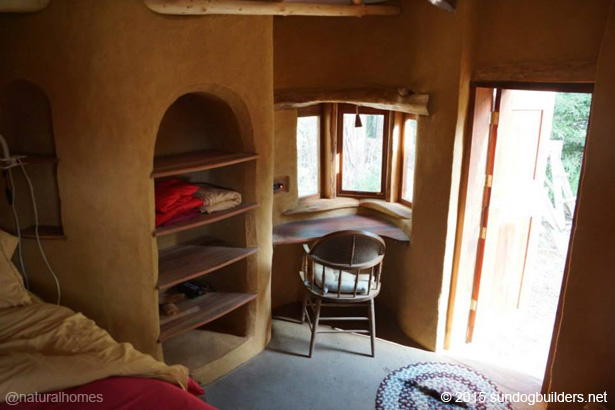
west and east sides. In pictures No.5 & 6 the
windowsill and lintel have been placed and the straw bale wall
built. In picture No.7 you can see the flue pipe from the
rocket stove on the left and in the doorway wooden posts have
been left in the cob walls to fix the door frame to the wall.
Finally the roof starts to take shape using roundwood that's
had the bark stripped from it. More of the
stages in the build
can be seen via
Bjorn Bayer, one of the apprentices. |